Composting for Beginners: C:N Ratios, Methods & Calculator Guide
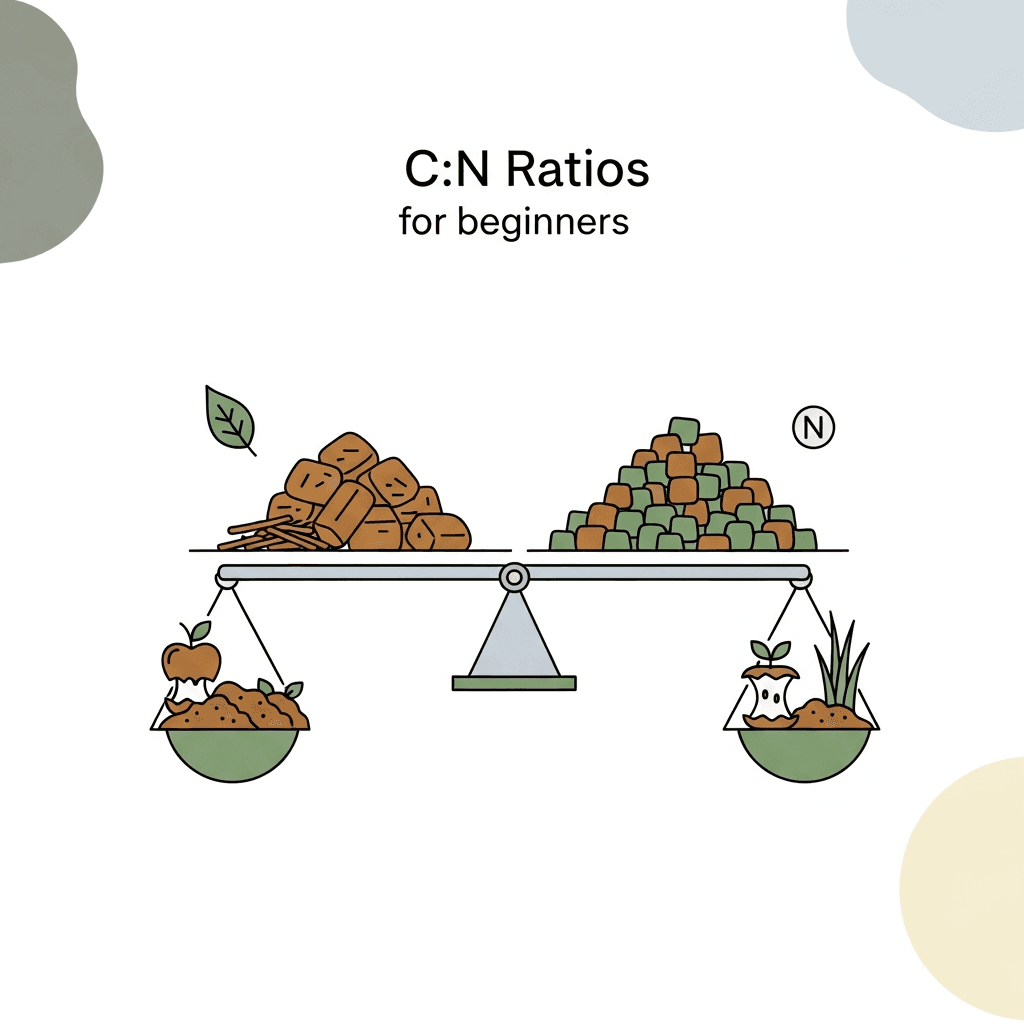
Successful composting requires a carbon-to-nitrogen (C:N) ratio between 25:1 and 30:1, a minimum pile size of 3x3x3 feet (1 cubic yard), and internal temperatures of 131-170F for hot composting. Get the ratio wrong and your pile either smells (too much nitrogen) or sits inert for months (too much carbon). Nature runs on ratios -- learn them, and your compost practically makes itself.
Consider a representative case: a homeowner dumped 200 lbs of grass clippings into a 4x4x3-foot bin with no brown material. The C:N ratio was approximately 20:1 -- too nitrogen-heavy. Within 48 hours the pile went anaerobic: slimy, foul-smelling, attracting flies. Turning it did not help, because without carbon sources, it re-compacted immediately. The fix took a weekend and a truck bed full of dry leaves: adding 150 lbs of leaves (C:N 60:1) and shredded cardboard (C:N 350:1) brought the blend to 30:1, with turning every 4 days. The pile hit 140F within a week and produced finished compost in 6 weeks. That whole detour could have been avoided with 5 minutes on a Compost Calculator.
Use our Compost Calculator to get the right C:N blend before you add a single scrap to your bin.

Understanding Carbon-to-Nitrogen Ratios
Every organic material has a ratio of carbon atoms to nitrogen atoms. Microorganisms that decompose organic matter consume carbon for energy and nitrogen for protein. When the ratio is 25-30:1, microbial activity peaks and decomposition is fastest. Below 20:1, excess nitrogen escapes as ammonia gas (the rotten smell). Above 40:1, microbes can't find enough nitrogen and decomposition stalls.
C:N Ratio Chart for Common Compost Materials
| Material | C:N Ratio | Category | Notes |
|---|---|---|---|
| Grass clippings (fresh) | 15-20:1 | Green (N) | Add in thin layers to prevent matting |
| Vegetable scraps | 15-25:1 | Green (N) | Chop to 2-inch pieces for faster breakdown |
| Coffee grounds | 20:1 | Green (N) | Include the paper filter |
| Fresh manure (chicken) | 7-10:1 | Green (N) | Very hot -- use sparingly |
| Fresh manure (horse/cow) | 20-30:1 | Green (N) | May contain weed seeds |
| Fruit waste | 25-40:1 | Green (N) | Attracts flies -- bury in pile center |
| Dry leaves | 40-80:1 | Brown (C) | Shred for faster decomposition |
| Straw | 75-100:1 | Brown (C) | Excellent aeration and structure |
| Cardboard (shredded) | 350-500:1 | Brown (C) | Remove tape and glossy coatings |
| Newspaper (shredded) | 150-200:1 | Brown (C) | Modern soy-based inks are compost-safe |
| Wood chips | 400-700:1 | Brown (C) | Better for mulch than composting |
| Sawdust | 200-750:1 | Brown (C) | Use thin layers -- compacts easily |
| Pine needles | 60-110:1 | Brown (C) | Slightly acidic; use in moderation |
| Corn stalks | 60-75:1 | Brown (C) | Chop into 6-inch sections |
According to the Cornell Waste Management Institute, the optimal starting C:N ratio is 30:1 by weight. Materials above 30:1 are "browns" (carbon-rich) and materials below 30:1 are "greens" (nitrogen-rich). The terms have nothing to do with actual color -- coffee grounds are "green" despite being brown.
Tip
The quick rule of thumb: 3 parts brown to 1 part green by volume. This approximation works because browns are generally lighter (more air) and greens are denser (more moisture). For precision, use the Compost Calculator to input exact weights and get a calculated C:N ratio.
Three Composting Methods Compared
There is no single "best" composting method. The right choice depends on your space, time, materials, and how quickly you need finished compost.
Composting Methods Comparison
| Feature | Hot Composting | Cold Composting | Vermicomposting |
|---|---|---|---|
| Time to finished compost | 4-8 weeks | 6-12 months | 3-6 months |
| Minimum pile size | 3x3x3 ft (1 cu yd) | Any size | 2x1x1 ft bin |
| Turning frequency | Every 3-5 days | Monthly or never | Never (worms do it) |
| Temperature range | 131-170F (55-77C) | Ambient air temp | 55-77F (13-25C) |
| Kills weed seeds? | Yes (above 131F) | No | No |
| Kills pathogens? | Yes (above 131F for 3+ days) | No | Partially |
| Effort level | High (active management) | Low (passive) | Moderate (feeding schedule) |
| Space needed | Outdoors, 27+ cu ft | Any outdoor space | Indoor or outdoor, 2+ cu ft |
| Best for | Large gardens, yard waste | Casual gardeners, fall leaves | Kitchen scraps, apartments |
Hot Composting (Thermophilic)
Hot composting is the fastest method because sustained high temperatures accelerate microbial breakdown. The pile must reach 131-170F (55-77C) and maintain that range for at least 3 consecutive days to kill weed seeds and pathogens. The EPA recommends maintaining temperatures above 131F for pathogen reduction in home compost systems.
How to start a hot compost pile:
Step 1: Choose a location. Pick a level, well-drained spot with partial shade. Full sun dries the pile too fast; full shade keeps temperatures too low. A 4x4-foot area is ideal. The pile should be accessible from at least two sides for turning.
Step 2: Build a base layer. Lay 4-6 inches of coarse brown material (straw, small branches, corn stalks) on the ground. This creates airflow channels beneath the pile.
Step 3: Layer greens and browns. Alternate 2-3 inch layers of green material with 4-6 inch layers of brown material. This achieves the 3:1 volume ratio that approximates a 30:1 C:N ratio. Moisten each layer as you build -- the pile should feel like a wrung-out sponge (50-60% moisture).
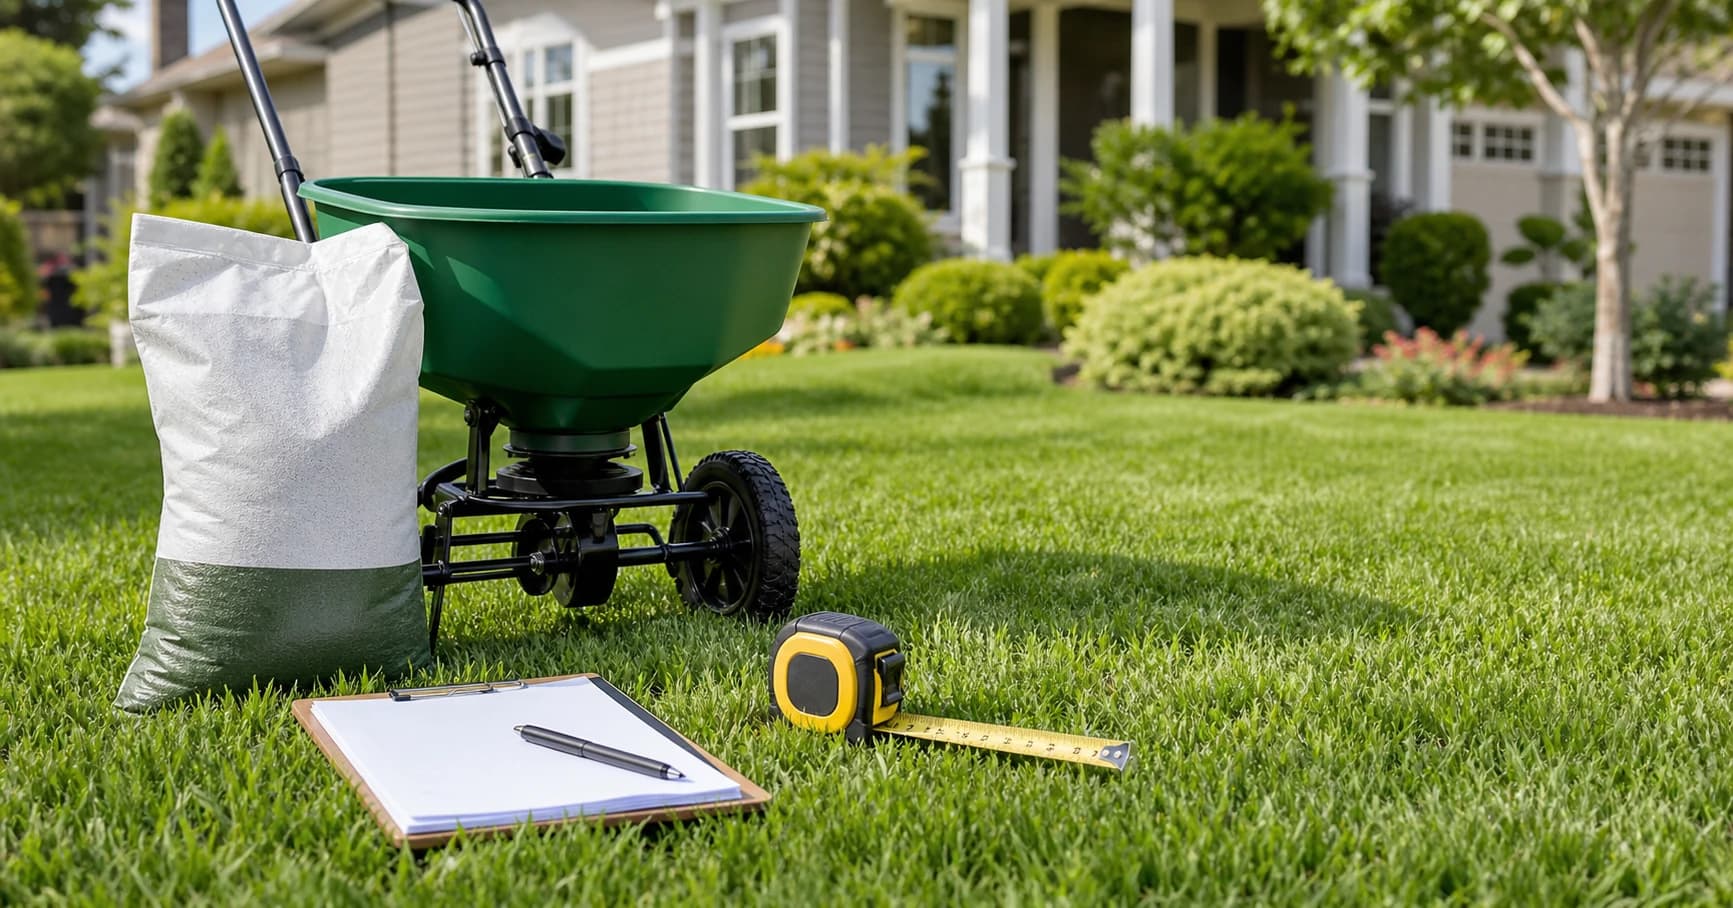
Step 4: Build to minimum size. The pile must reach at least 3x3x3 feet (27 cubic feet, or 1 cubic yard) to generate and retain enough heat for thermophilic decomposition. Smaller piles lose heat too quickly through the surface area. Use the Compost Calculator to determine the right amounts of each material for your target pile size.
Step 5: Monitor temperature. Insert a compost thermometer 12-18 inches into the pile center. Temperatures should rise to 130-160F within 24-72 hours if the C:N ratio and moisture are correct. If the pile doesn't heat up, it needs more green material (nitrogen) or more moisture.
Step 6: Turn when temperature drops. When the center temperature drops below 130F (usually every 3-5 days), fork the pile inside-out -- move the outer material to the center. This reintroduces oxygen and redistributes undecomposed material. A well-managed hot pile needs 4-6 turns over 4-8 weeks.
Step 7: Cure for 2-4 weeks. After the final turn, let the pile sit undisturbed. Temperature will drop to ambient. Finished compost is dark brown, crumbly, and smells earthy. If you can still identify original materials, it needs more time.
Important
Temperatures above 170F kill beneficial microorganisms. If your pile exceeds 170F, turn it immediately to release heat. Chicken manure and grass clippings are the most common culprits for overheating. The USDA Natural Resources Conservation Service recommends the 131-170F range for optimal decomposition.
Cold Composting (Passive)
Cold composting is the simplest approach: pile organic materials, wait 6-12 months, use the result. No turning, no temperature monitoring, no precise ratios required. The tradeoff is speed and quality -- cold compost does not reach temperatures high enough to kill weed seeds or pathogens.
Cold composting works best for fall leaf collection. Rake leaves into a wire-mesh bin or pile them in a corner of the yard. By the following summer, the bottom of the pile will be usable leaf mold -- excellent for mulching raised beds. Learn more about using leaf mold in our Raised Bed Garden Complete Guide.
Vermicomposting (Worm Composting)
Vermicomposting uses red wiggler worms (Eisenia fetida) to convert kitchen scraps into worm castings -- one of the most nutrient-dense soil amendments available. A healthy worm bin processes half its weight in food scraps per week. That means 1 lb of worms handles 3.5 lbs of kitchen scraps weekly.
Use the Worm Bin Calculator to size your bin and determine starting worm population based on your household food waste output.
Key vermicomposting rules:
- Worms thrive at 55-77F (13-25C). Keep bins indoors or in a climate-controlled garage
- Feed fruit and vegetable scraps, coffee grounds, and shredded paper
- Avoid meat, dairy, oils, and citrus (acidic citrus in large quantities can harm worms)
- Bedding should be moist shredded newspaper or coconut coir
- Harvest castings every 3-4 months by moving finished material to one side and adding fresh bedding and food to the other
Troubleshooting Common Compost Problems
Across countless failed piles, the root cause is almost always the same: the ratio was wrong. Here is a diagnostic guide.
| Symptom | Likely Cause | Fix |
|---|---|---|
| Rotten egg or ammonia smell | Too much nitrogen (C:N below 20:1) | Add browns: dry leaves, straw, shredded cardboard |
| Pile is cold and not decomposing | Too much carbon (C:N above 50:1) | Add greens: grass clippings, food scraps, manure |
| Pile is wet and slimy | Too much moisture, poor aeration | Turn the pile, add dry browns, improve drainage |
| Pile is dry and dusty | Insufficient moisture | Water the pile until it feels like a wrung-out sponge |
| Attracting rodents or flies | Exposed food scraps on surface | Bury food scraps 6-8 inches deep in the pile center |
| White mold throughout pile | Fungal activity (actually normal) | This is actinomycetes -- a sign of healthy decomposition |
| Pile shrinks but isn't finished | Normal volume reduction (50-70%) | Continue composting; volume loss is expected |
Warning
Never compost meat, dairy, or pet waste in home systems. These materials attract pests, create odors, and can harbor pathogens (Salmonella, E. coli) that home compost temperatures may not destroy. The EPA composting guidelines specifically exclude these materials from backyard composting recommendations.
What to Compost (and What to Avoid)
Safe to Compost
- Fruit and vegetable scraps (chop large pieces)
- Coffee grounds and paper filters
- Tea bags (remove staples)
- Eggshells (crush for faster breakdown)
- Grass clippings (thin layers, mix with browns)
- Dry leaves (shred for faster decomposition)
- Straw and hay
- Shredded newspaper and cardboard (no glossy coatings)
- Plant trimmings (disease-free only)
- Herbivore manure (horse, cow, rabbit, chicken -- aged or composted)
- Wood ash (small amounts -- raises pH)
- Dryer lint (from natural fibers only)
Never Compost
- Meat, fish, or bones
- Dairy products
- Oils, grease, or fat
- Pet waste (dog, cat)
- Diseased plants
- Weeds that have gone to seed (unless hot composting above 131F)
- Treated or painted wood
- Charcoal ash (contains chemicals)
- Glossy or colored paper
How Long Does Composting Take?
The timeline depends on your method, management, and materials. Here is what to expect by season.
-
Spring (March-May): Start a new hot pile with spring yard cleanup materials. Rising ambient temperatures help the pile heat faster. A pile started in April can be ready by June if turned regularly. Start seeds indoors using our Seed Starting Calculator and plan to transplant into compost-amended beds after last frost.
-
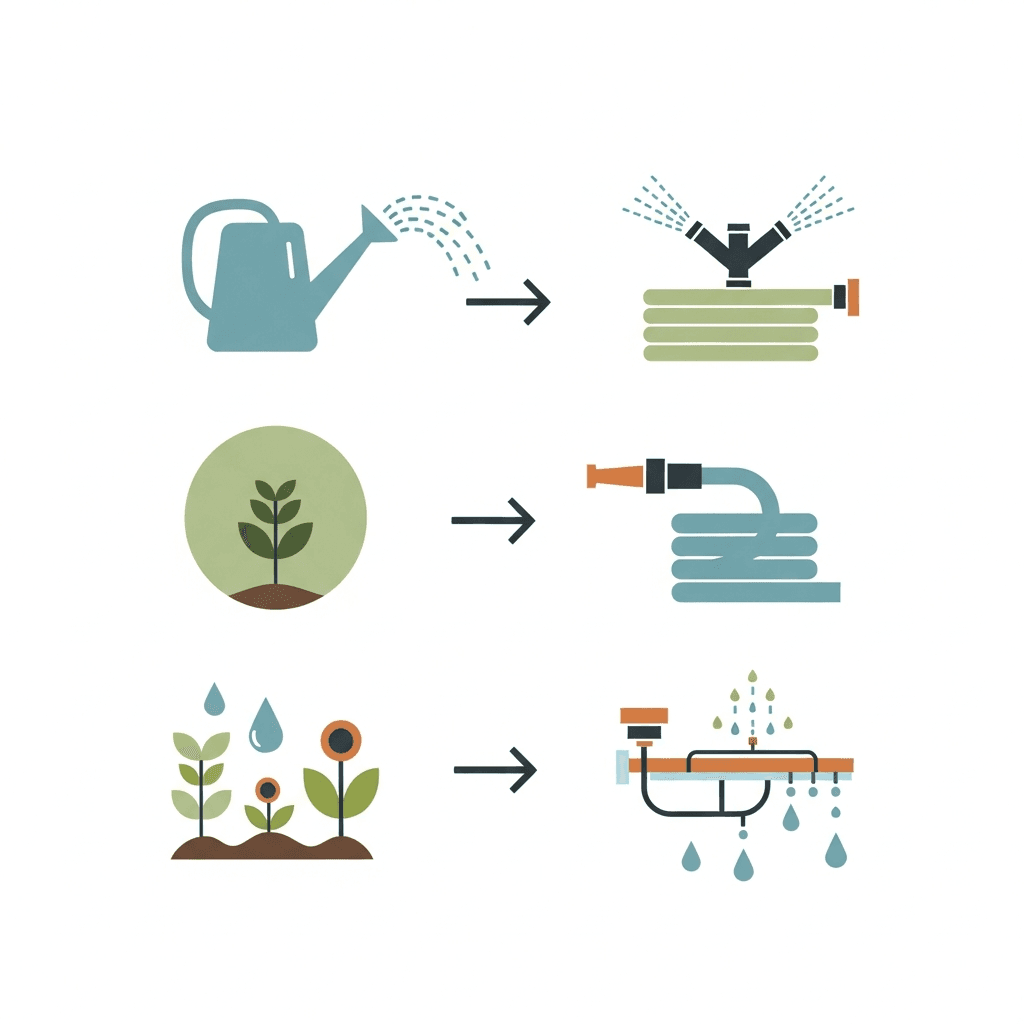
Summer (June-August): Peak composting season. High ambient temperatures accelerate all methods. Hot compost can finish in 4-5 weeks. Keep moisture levels up -- summer heat dries piles fast. Water your compost the same way you water your garden.
-
Fall (September-November): The best time to start a cold compost pile with fallen leaves. Layer leaves with kitchen scraps and let it sit over winter. By spring, the bottom layers will be ready for your raised beds. See our Raised Bed Garden Complete Guide for how to use finished compost in bed soil mixes.
-
Winter (December-February): Composting slows dramatically in freezing zones (USDA 3-6). Hot piles cool to ambient and go dormant. Vermicomposting continues indoors year-round. In Zones 7-10, composting continues at a slower pace through mild winters.
Tip
What to do this week: If you don't have a compost system yet, start with a simple wire-mesh bin (bend a 10-foot section of 3-foot-tall hardware cloth into a circle). Begin collecting kitchen scraps in a countertop container and dry leaves in paper bags. This gives you both greens and browns ready to go when temperatures rise.
Using Finished Compost in Your Garden
Finished compost is dark, crumbly, earthy-smelling, and free of identifiable original materials. Here is how to apply it.
-
Raised bed soil amendment: Mix 2-3 inches of compost into the top 6-8 inches of bed soil each spring. For new raised beds, compost should make up 20-33% of the total soil mix. Calculate exact quantities with our Raised Bed Calculator.
-
Top dressing: Spread 1/2 to 1 inch of compost on the soil surface around established plants as a nutrient-rich mulch. This feeds plants slowly and improves soil biology without disturbing roots.
-
Seed starting mix: Sift finished compost through a 1/4-inch screen and blend 1 part sifted compost with 1 part coconut coir and 1 part perlite for a nutrient-rich seed starting medium. Use our Seed Starting Calculator to time your indoor sowing.
-
Compost tea: Steep 1 cup of finished compost in 1 gallon of water for 24-48 hours (aerate with a fish tank bubbler). Strain and apply as a foliar spray or soil drench. Compost tea delivers beneficial microorganisms directly to plant root zones and leaf surfaces.
Frequently Asked Questions
What is the ideal C:N ratio for composting?
The ideal carbon-to-nitrogen ratio for composting is 25:1 to 30:1. At this ratio, microbial populations multiply fastest and decomposition is most efficient. A simple approximation is 3 parts brown materials to 1 part green materials by volume. For exact calculations based on your specific materials, use our Compost Calculator.
How big does a compost pile need to be?
A compost pile must be at least 3x3x3 feet (27 cubic feet, or 1 cubic yard) to generate and retain enough heat for hot composting. Smaller piles lose heat through their surface area faster than microbes can generate it. For cold composting and vermicomposting, there is no minimum size -- even a small countertop worm bin works.
Can I compost in an apartment?
Yes. Vermicomposting (worm composting) works in any indoor space. A 2x1x1-foot worm bin under the kitchen sink or in a closet can process 3-4 lbs of kitchen scraps per week with no odor when managed correctly. You can also use a Bokashi fermentation system, which uses anaerobic bacteria to pre-compost food waste (including meat and dairy) in a sealed bucket.
How do I know when compost is finished?
Finished compost is dark brown to black, crumbly (not slimy or chunite), and smells like rich forest soil. You should not be able to identify any of the original input materials. The temperature should be at ambient (not generating heat). A simple test: place a handful in a sealed plastic bag for 24 hours. If it smells earthy when you open it, it is ready. If it smells sour or like ammonia, it needs more time.
Does composting attract rats?
Improperly managed compost can attract rodents. The three main attractants are exposed food scraps, meat/dairy, and easy access. Prevent rodent problems by always burying food scraps 6-8 inches deep in the pile center, never composting meat or dairy, and using a bin with a secure lid or 1/2-inch hardware cloth bottom. A well-managed compost pile is no more attractive to rodents than any other part of your yard.
Can I add weeds to my compost?
You can add weeds that have not gone to seed to any compost pile. Weeds that have produced seeds should only go in hot compost piles that maintain 131F+ for at least 3 consecutive days -- this temperature kills most weed seeds. When in doubt, leave seeded weeds out. Perennial weeds with aggressive root systems (bindweed, Bermuda grass) should be dried in the sun for a week before adding to compost.
Related Calculators
- Compost Calculator -- Calculate C:N ratios and material quantities for your compost pile
- Raised Bed Calculator -- Determine how much compost to blend into your raised bed soil mix
- Worm Bin Calculator -- Size your vermicomposting system based on weekly food waste output
- Seed Starting Calculator -- Time indoor seed starting to use your finished compost at transplant
Related Articles
- How to Build a Raised Bed Garden: Complete Soil & Materials Calculator Guide -- Use your finished compost in raised bed soil mixes
- When to Start Seeds Indoors: Frost Date Calculator & Planting Schedule -- Time seed starting to have transplants ready when compost finishes
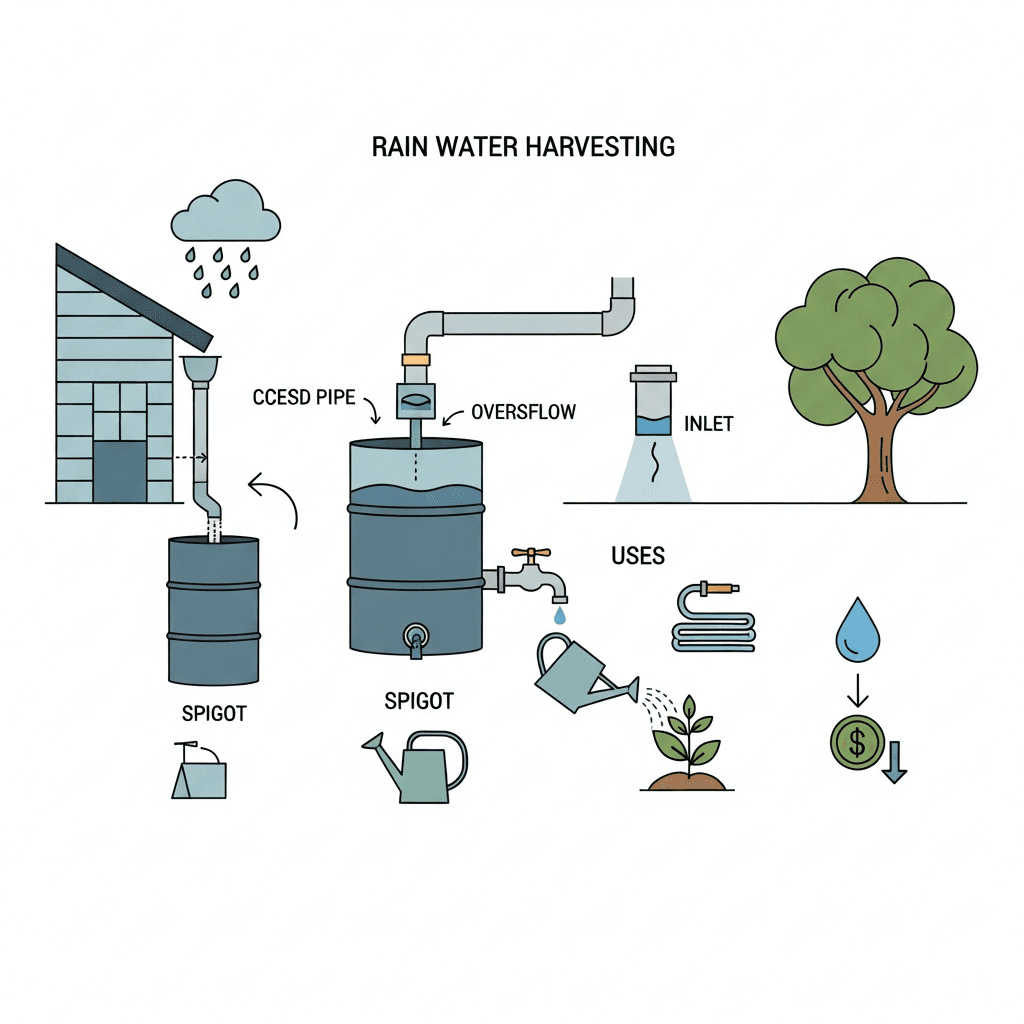
- Rain Barrel & Water Harvesting Guide -- Use collected rainwater to maintain compost pile moisture levels
This article provides general composting guidance for educational purposes. Composting regulations vary by municipality. Check local ordinances regarding compost bin placement, pile size limits, and permitted materials in your area.
This article is provided for informational and educational purposes only. Content should not be considered professional financial, medical, legal, or other advice. Always consult a qualified professional before making important decisions. UseCalcPro is not responsible for any actions taken based on the information in this article.
Try These Calculators
Calculate the ideal carbon to nitrogen (C:N) ratio for your compost pile. Add materials and get recommendations for balanced, fast-decomposing compost.
Estimate how long composting takes based on your method, C:N ratio, pile size, and climate zone. Get timelines for hot, cold, tumbler, and vermicomposting.
Calculate how much soil your raised bed needs in cubic feet and cubic yards. Get mix ratios for topsoil, compost, and amendments by bed size and depth.
Size your worm bin by household waste output and worm species. Get worm count, bin dimensions, bedding weight, monthly compost output, and startup costs.
Plan your raised bed garden layout with our free planner. Calculate how many plants fit, get companion planting tips, and optimize spacing for maximum yield.